Showing posts with label costumes. Show all posts

Thursday, May 10, 2012

I can make anything- even beards!

Last week Eden had a school project  about famous explorers She had to pick one and write a  report, make a poster, and dress up like the explorer.
Eden chose Jacques Cartier.  She came home from school all raring to go  to get her costume together. She said some of the kids were complaining about having to come up with a costume but she was excited. She has realized that her mother is storing a lifetime of costumes and dresses and vintage who-knows-whats  in the closets and attic of this house. I did not have a beard however. My  collection is   lacking in the faux facial hair  area so I googled how to make one. 
How did we ever live without google? 


The beard is felt with ribbons sewn into the sides to tie around her head. It is the easiest thing to make in the entire world and so fast! It took 15 minutes! Just two pieces of felt, some ribbon. That's it.   I got the pattern and instructions here:
It is comfortable to wear and she loved it. 
The wig is mine, yes I used to wear it  :) ,  the cape is a 1970s faux fur  cape that I used to wear all the time. The shirt is the white shirt from her christmas  outfit,  and the fox is  to represent the fur trade. French explorer dude came to the new world looking for gold and fur.  The boots are her favorite Justice boots. 
We had planned the costume with a hat but at the last minute we left it off- she left it because it was hard for her to get the wig on  on her own much less get the hat to stay and I chickened out on sending my 1960's velvet and satin perfect condition Jackie O type  pillbox hat to school with a third grader.
 I just couldn't do it. 

Here is the man himself:


And here is his  likeness as done by a third grader.
 
This is her I am a serious explorer face. 

I can't really tell them apart! Can you?  :)  

Thursday, April 19, 2012

And the hat goes on...

 Everyone that had an opinion about the hat told us, yes , ribbon!   So here is my dad in the final coat and hat with ribbon.  The coat has had some revisions since christmas- buttons, a snap in the back  to attach the hood to the coat and belt loops.  That's Honey de Belgian's big sweet face  taking up most of the picture. Focus on the hat- if you can. 
My family went out to TN to visit my dad for spring break. We took some pictures of him in his Father Christmas   outfit so we will have them for Christmas.  But it is only April, you say, why so early?? Well, I work slow. Dad knows that if we do it now, I will have them edited and ready for Christmas. And he hinted about some Christmas in July fun. 


These are the girls: Belle is on the left and Honey is on the right. 
  My daughter and I have renamed them: we are calling them  
Vanilla Cupcake and Caramel Custard Cup.   
These girls are  carriage and buggy horses. They pull a carriage around Lynchburg & Fayetteville . They are all muscle.  And sugar & spice and everything nice.

I wish you could smell them through the computer screen. Have you ever shoved your nose into a horses neck? They smell heavenly. Just stick to the neck end. That other end can be not so nice. 
  
I did not make their hats.  I had no idea there were special christmas hats for horses.  The things you learn when visiting a farm... 

I am going to try another version of the hat. It worked great for pictures and fits nicely, but the inside is a mess. It is lined but the top of the hat, I could not get smooth and it is just bugging me.  The coat is perfect and I want the hat to be perfect, inside and out.  

The back of the coat


Honey is off the hook- she is done with pictures and headed back to her pasture. She is very patient for pictures. 

Dad said he needed something to carry the coat in so I made a garment bag for the coat as well. I used clear vynil and bias tape.   Sewing on the clear vinyl isn't bad, it is just very slow going. 

Next year, I will make santa outfits for the horses. 
Naaaa, just kidding. Can you see fitting  a horse that big? 

If you would like to see more of Honey  & Belle  doing what they do  hop on over to
or 


Tuesday, April 3, 2012

I'm too sexy for this hat


I am working on the hat to go with my dad's father christmas  suit.  The coat has a hood on  but he can't wear the hood all the time. 

He needs to choose:  ribbon on the hat  or no.  So I took pictures and we all can vote! :) 


The hat without the ribbon. 


The line of stitching near the top of the hat will go away-
that is just a line of basting stitches to keep the hat
in shape will I worked with the center. 


The hat with the ribbon 


It's the attack of the  Holly Jolly Hat!!!!EHHHHHHHH!


This is the top of the hat.  It will smooth out a bit more and not be so 'pointy'  when I am all done. 

I look like an elf taking a picture. 

Here  is my dad wearing the suit standing next to Honey, the prettiest girl in Lynchburg, TN.   :)  
You can look at this and get an idea of how the hat will go with the suit. 


So tell me ....

 Yes ribbon 
or 
No ribbon? 


Friday, December 2, 2011

Father Christmas has come to town

It's December! How on earth did this happen??  I swear it was October just 2 minutes ago...


 A couple of  weeks ago I finally finished up a  Father Christmas coat for my dad.  He dresses as Santa each year and wanted a bit of a change.  He asked for a long coat in a different red than his regular Santa suit.
Here he is  in the coat with Honey, Lynchburg TN's prettiest blond girl.   Check out her hooves! What a lady :)
Honey is  the sweetest horse ever!  

It is this pattern, lower right view, with a few decorative changes. McCalls 5550


I tissue fitted him this summer so I could get a general idea of how it was going to fit him- was it going to be long enough to cover the tops of his boots?   How long were the sleeves on him?
I took measurements of him to use but tissue fitting  worked better for me. This is my dad, covered in pattern paper :)


I have never made a father Christmas coat before.  I also do not generally make things for men so I covered all the fitting bases by tissue fitting, measuring and making a muslin.


We tissue fitted this summer .
I made a muslin of the coat out of drapery lining and sent it to him in TN.
He then took it to a friend down the road a ways and she marked up the muslin to fit, added markings where he wanted pockets,  and then he sent it back.
Last, I made the coat and sent it back!


  • I added a lining as the velveteen is HEAVY and it would be very hard to pull that heavy coat on without lining.  The lining , I think,  makes the coat comfortable . As Dad does parades and outdoor festivals, he might be wearing a coat or at least long sleeves under the coat. The lining enables that he will be able to move .
  • The faux fur  on the sleeve ends is  on the inside of the coat as well. Dad does parades and there is waving going on. I needed to be sure that the coat sleeves were  waving friendly: meaning you couldn't see any construction on the inside.  It was pretty tricky to figure out how I was going to do that and not have all of the stitching show. I had to sit down and use all of my brain cells.  I ended up sewing both fur pieces  in the seam and then stitching the inside faux fur and then the outside- that hid all of the construction.
  • I added a hood. When looking up father Christmas images, about half had a hood. I think it looks more traditional with the hood. I am still making  two hats for dad to go with the suit, one with the holly ribbon and one without so he can wear it with the suit. The hood is a bit big and it doesn't stay up too well. Those hats should happen this week. 
  • I added a wide ribbon around the edges of the fur. I thought the coat needed an extra somethin' somethin'.  It adds in an extra bit of color. I searched  everywhere for the right ribbon.  I thought I wanted something with a gold in it, but when I found this ribbon , I knew this one was perfect. It has a very painterly holly image on it that fits with the father Christmas theme better than gold would. 
  • Dad requested pockets   and those are built into the coat on the side seams.  I also made a belt. 
  • We will be adding red velvet buttons down the center fur when he brings it  to VA at Christmas.  They will be decorative, not functioning. The coat closes with big Velcro pieces inside  as button holes in that faux fur would be impossible. 


Cutting the faux fur was an adventure. I had learned from making Eden's Scooby Doo costume a couple of years ago that the faux fur gets everywhere.
I cut the fabric  up in the living room instead of my sewing room because I could easier cut and vacuum  after. I would cut the faux fur piece with the rotary cutter, shake it out on the carpet, vacuum the carpet and pieces  and table - then immediately sew it on.  Even doing that , our living room had a film of shiny white dust for a week or so.
I covered our bookcases with big sheets to I didn't have to dust them after. Faux fur when cut gets EVERYWHERE. It flies through the air and gets in your nose and is generally a pain. Once it gets sewn  onto the clothing , and the ends are tucked in, it won't do it anymore.  I used a great faux fur that looks like poodle fur up close.


Before I sent it   to Dad my family  took "Fun with the  Father Christmas coat" pictures in the dining room. (It was empty because we were redoing the floors. :) Which are done now and look so good! )

First up was my sweet hubby.

Father Christmas boxing.
I think this look suits him.  :) :) 


Eden is her  Disney wicky wicky fresh word move. 
(If you have to ask what the  wicky wicky fresh word move is then  you have not been subjected to untold numbers of Hannah Montana episodes and should consider yourself lucky. If you did not have to ask  and knew right away what I was talking about, I am so sorry.  )

All hail the 8 year old!


All hail me!


I am a kung fu bunny in a father Christmas coat. 
Sing it with me...."Every bunny was kung fu fighting."


 Father Christmas and Honey the Belgian Reindeer. 


Wicky wicky fresh. Word. 

Sunday, November 7, 2010

Halloweeen!

Ahhh. Long time no blog, I know. I would love to sit down regularly and update this thing. I am envious of the time and discipline of bloggers who update every day. I follow a couple of blogs that post daily and I love to read them. My goal is once a month. So far I am not hitting that goal :) but I am getting there!
I have SO BUSY! I have lots of new students and they are fantastic! Also, I have suddenly been hit with many new clients who have naked windows for me to cover. And then there was halloween.
I love halloween!!!!! I love pumpkins and halloween decorating. I love everything about halloween- especially getting to wear a costume. And since I now have my own darling mini-me who shares my love of dressing up- I have two costumes to make each year.
This year, Eden decided she wanted to be a princess. Ok. We can do that. But I would not allow her to cheat and go the disney route. We had to make it unique. Also, Eden wanted us to match. I found a costume pattern that came in a child size as well as an adult size. We decided to do as princess and queen going to a masquerade ball. My plan was for us to both have matching dresses, her in pink & white and mine in black & red and masquerade masks.


We decided to do Eden's in Pink & White. Here she is!

To save a bit of money I used Wright lace hem tape for the edges of the sleeves- it was three yards for about $2 . I gathered it using my handy dandy ruffler foot. I also used the Wide lace hem tape for the trim all along the edge, where the pink meets the white. It turned out to be MUCH less expensive that buying pre-gathered lace trim.


Doesn't she look like a pretty frosted cupcake?

Sleeve detail:


I ordered the mask on Etsy from Lyssane. You can visit her beautiful shop here:

The mask was perfect!! Absolutely exquisite! I loved the attention to detail- there were little sparkles inside the flowers and all of the ribbon pieces were neatly tucked inside. The mask was even lined on the inside with super soft felt so it was super comfy for Eden to wear. The mask made the outfit!! If you need a mask- don't go anywhere else! It was perfect!


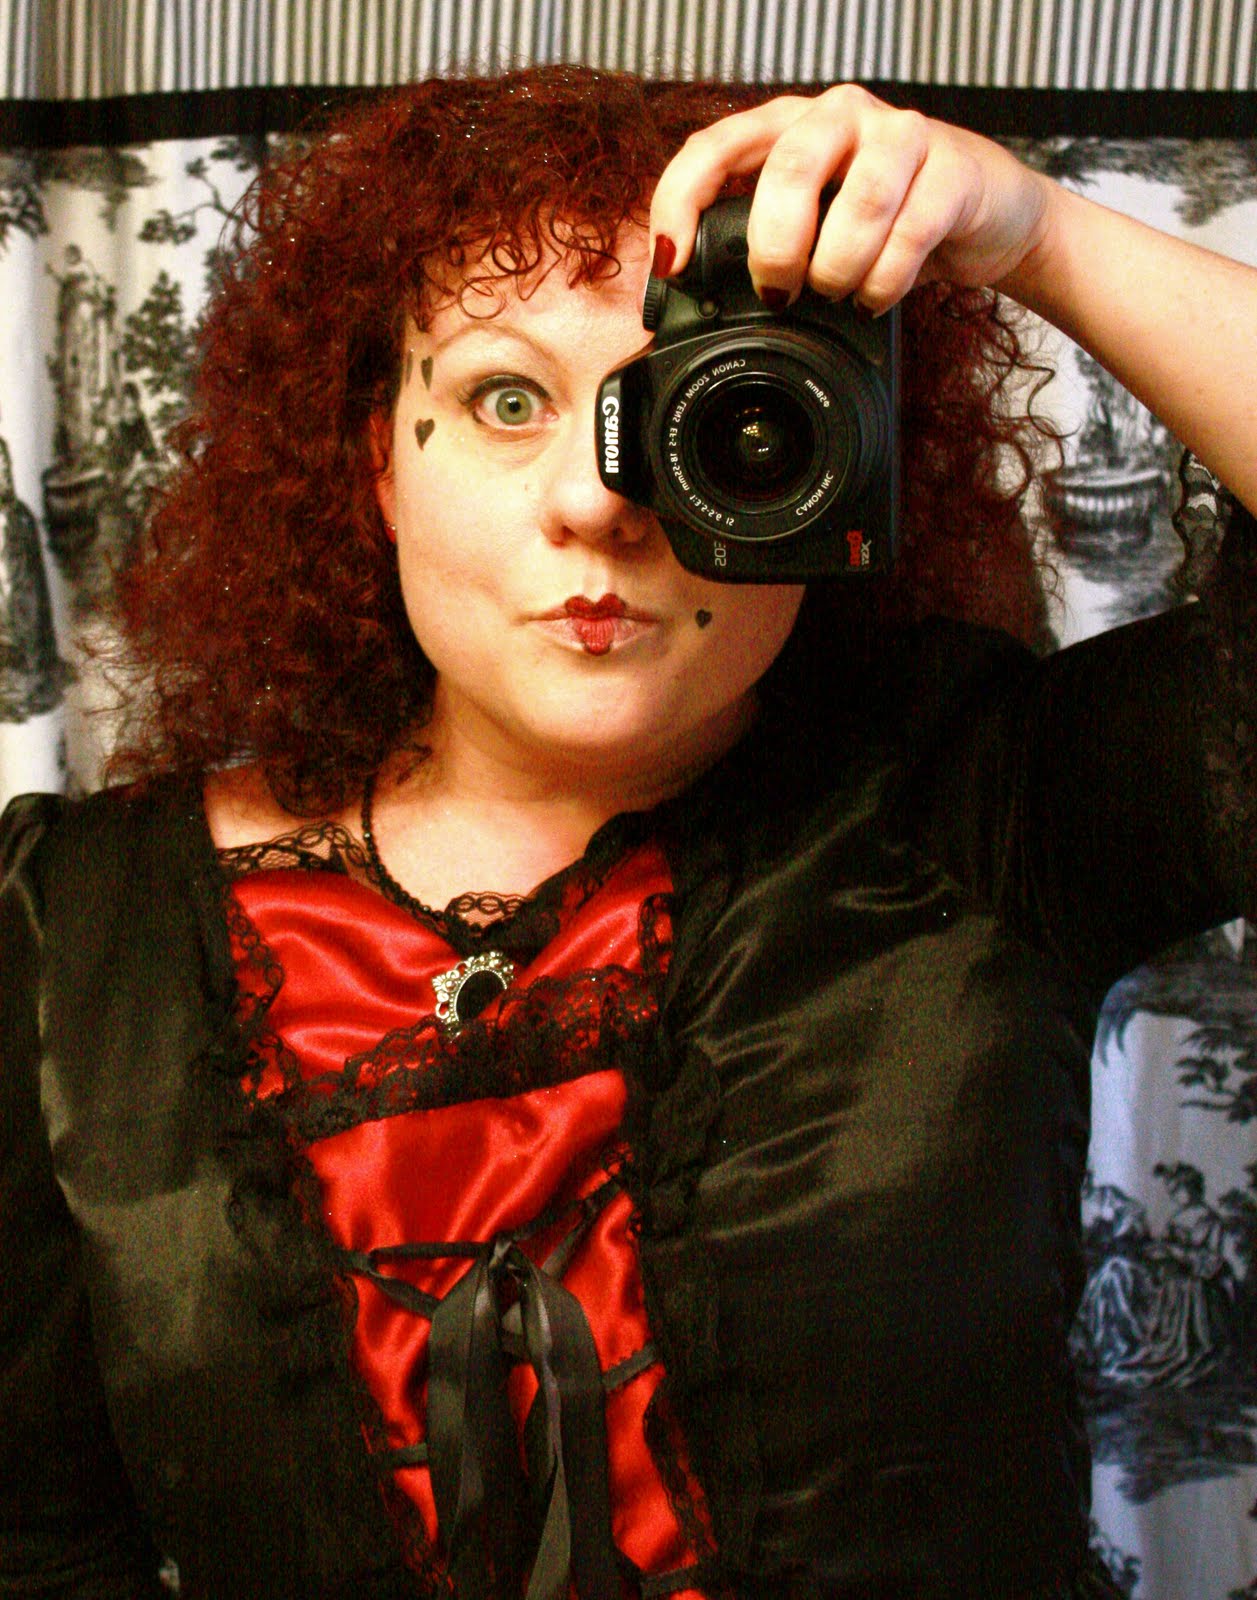
My dress was completed at the very last minute. I had planned on more time but woops! Ran out! I used a different method (pivoting the pieces ) to alter the bodice and I wish I had stuck with my normal method ( painstakingly cutting them apart and piecing ). After making up two muslin test versions, I still wish I had had time to alter it once more. I changed the front to a lace up detail, instead of the bows on the pattern. I also added in a piece at the top of the bodice so that it was not so low. ( I was asked to read to Eden's class for Halloween and I really felt that the dress was just a bit too revealing for 2nd graders.) Also, to read for her class I needed to be a story book character. So at the very last second, I changed my costume into the Queen of Hearts from Alice in Wonderland. I appliques hearts onto the front of the dress. I ended up not needing a mask. I drew hearts on my face and my lipstick was heart shaped.


(You can see my husband and Eden in the reflection in the glass door :) )

Here I am after I read to Eden's class.


My Mini-Me & Me
I used a satin edge stitch for my sleeves as I was not going for the 'frosted cupcake' look of Eden's dress.


Happy Halloween!