Showing posts with label Vintage Patterns. Show all posts

Friday, June 22, 2012

Some Girls are Bigger Than Others

  I found this pattern thrift shopping with Eden the other day- isn't it adorable? It would just look amazing on Eden in a red velour for christmas.  Look at the dress on the left, in blue. How cute in red with a white collar edged in lace? 
(I haven't even  made our Halloween costumes yet and I am already planning her christmas dress!)
 I put the pattern in the sewing room when we got home and went about my day.  Later I looked closer at the pattern, checking for pattern pieces and I noticed something funny.
 Do you see it?  
Look in the upper left corner. 


Here I will enlarge it   for you.

Suitable for Chubbies!


Uhm... What?  Chubbies?  
 Inside the pattern are instructions  on Fitting Chubby Girls.    Seriously.   
At first I was incredulous  that that was even printed on there.  But some girls are bigger than others.   Everything is so PC these days, it seems so insulting to call someone a chubbie, even indirectly on a pattern envelope.   Then I got to thinking. If  patterns would just print that kind of information on each pattern smack dab  on the front  and not worry about offending anyone , it would make things easier.  Honest and  up front.  No sugar coating.

Here are some I would like to see:

Hides a Muffin Top
Suitable for Fat Bottomed Girls
Not suitable over 40. No exceptions. 
  Only Suitable for Bulimic Models  
Suitable for  Boob Jobs
Suitable for Shorties
  or  more PC
Suitable for the Vertically Challenged


Can you think of any more?? 

Send them to me and I will add them!
:)


Sunday, June 17, 2012

The Mae Dress

Simplicity 5915
This is my new favorite dress.

  I love this dress!!  I made it  a couple of weeks ago but am only getting around to finishing this post about it.   I love this pattern! It is from 1965.  I used it to make Eden's Halloween costume  last year and   this dress :  The Pink Peace Dress.


 I have been wanting to make one for myself  for a while. I chose the view on the right,  the white one. But in black of course! I  do love the gal on the left, and I intend to make one exactly like hers eventually. I love the large gingham check and  it is hard to see in this photo but she is wearing fishnets and pointy toe shoes. So cute!  I need her whole outfit!!!

 I got this pattern in Tennessee last year on spring break when we went out to my dad's farm to visit.   So the pattern was only in my possession for a year before I got around to making it! That's not bad!  I bought it in Fayetteville, on the square in one of the antique shops.  The pattern  I found is a 10T meaning it was for teens.  The size is a 30 bust. Now, I can't recall in  my life being a 30 bust. My 9 year old is a 28 inch chest so I think this pattern was probably meant for what, 12 year olds? Yea, folks were skinnier then, there wasn't any Ben & Jerrys and ranch dressing wasn't invented yet. But still, wow. Small.
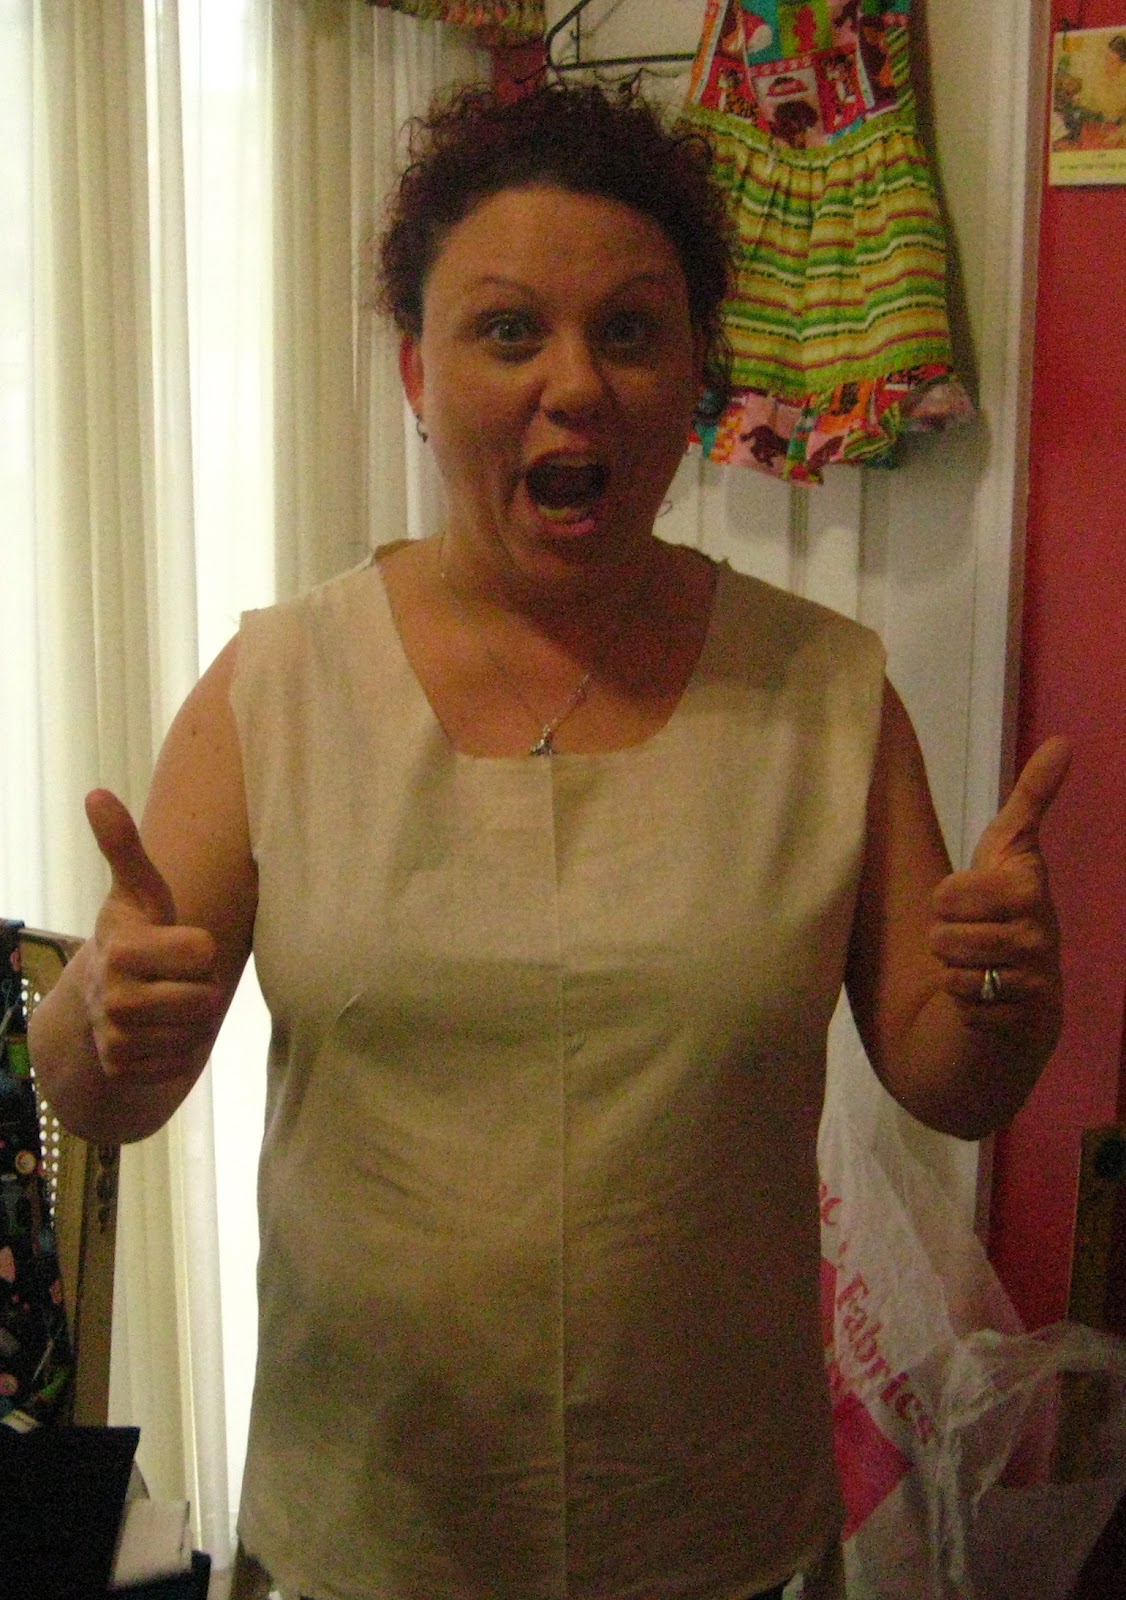
I graded the pattern up, meaning I altered  from a size 10teen bust 30 up to my size. I am not going to publicly tell you my exact inches but I am  waaaaaaayyyyyy above a 30 bust. Yes, I made a muslin. Here I am in all of my muslin glory looking mighty sexy-


I worked on that for a while and fine tuned it and then made the dress.
 I changed the sleeves entirely from the pattern. For this dress, I just had a tiny cap sleeve in mind. I think I  look better in a  shorter sleeve than the pattern has.
There is an invisible zipper in the back that you can't see.
It's a ninja zipper!

The dress is made out of $3.95 a yard polyester  from Hancocks. You know that value section, over where they have the horrid flannel that nobody buys?  Yea, this was in the value  crazy ugly fabrics section. It rocks. I treated this fabric like it had done me wrong and I was getting payback. I took out stitches and did the darts a couple of times and the fabric does not look like it.  You know a dress will hold up to daily wear when you  put it through hell  during the making of it and it comes out lookin' good.

The dress has a natural waistline, not a modern waistline, which is very comfortable.


I lined it.
I bought the lining  at Sir's  Fabrics in Fayetteville, Tennessee in April for $1 a yard. It is the cheap,  cheap stuff.   I adore this color. It is gorgeous!   It is sort of a bummer that it is hidden on the inside but I am sure I will find ways to show it off :) This lining is not too hard to work with as it is  stiffer then the linings I usually use. Sometimes cheap  is better!

I used one of the decorative  stitches on my machine to hem the lining.


 Funny how I have all kinds of pictures of me doing this....
Do other people have lots of pictures of themselves
 holding up their dresses and showing their hems, or is it just me? 


The facings are applied to the lining and stitched on.
Then the lining layer and face layer are sewn together. 

The hem has lace hem tape attached to the bottom raw edge and then the
lace is hand stitched to the fabric. This is my favorite kind of hem!

I love using a pretty stitch to hem linings. My machine has so many stitches and
 I pretty much just use the straight and the zig zag. Sometimes I have to remind myself
that the machine can do  flowers and other cool stuff. 


The Lace Edges :
I wanted to edge the neck and sleeves with a lace. I had about 5 options I kept going back and forth between as I tried to decide. I wanted black, but I didn't want it too floral. I bought a white lace to dye black but then I changed my mind and  just went all out OCD and crocheted the lace. I wanted a width wide enough to cover the edges of the sleeves where somehow, even though they are handsewn, I could where the stitches are. The sleeves really gave me  a hard time. As I deviated from the pattern, I ended up just drafting them from scratch. I went trough two sets of sleeves trying to get these just perfect!

The crocheted lace around the
edges of the neck and arms is the easiest ever!
Each arm piece took about an hour to crochet
 and the neckline took  about 2. 


I had no idea that the dress was wrinkly.  I need to remember if
I am wearing it in the mid day summer sun,
iron it first!
      I had the dress done in time to wear on Mother's day to brunch at the mom- in-laws house.  I didn't have the lace done yet  so here is what it looked like without the lace on the arms and neckline.  Kinda plain.  I wore it with my pearls. It was overcast that day so these photos are kinda gray
That's some craaaaaaaazzzzzzzzy hair.


You could hide an army in my hair.
Seriously. An entire army could camp out
 for a year and not be seen,  ever.


The pictures with the lace on the edge  were taken  in my best bud Elaine's  back yard.  Her flowers were looking so good, I said to myself- Self! Take picture in her yard!! I picked up her daughter from school and while we were waiting for Elaine to get home, Izzy took  pictures of me in my dress.  
Thanks Izzy! You did great, kid!

Sometimes we pretend to be grown adults.
This was not one of those times. :) :) 


The Pin:
My brother gave me this for Christmas and I love it! It is a mama kitty and baby kitty! Just like me and my baby! I love kittys!   I think it looks awesome with my dress. Really goes well with my glasses!

( I used to have a black  cat, or a black cat had me rather, named Saracen.  That's part of why Matthew got the pin for me. He was a huge, pissy, part-siamese, obnoxious  total jerk, darling  of a kitty and  I loved him dearly. He was 14 when he passed.  I haven't had a kitty since because I just want him back , another cat wouldn't be the same.  Plus, I discovered after he passed that all of my horrible sinus  infections and breathing issues cleared up so apparently I was allergic to him all those years.  And am allergic to other kitties.   Bummer.) 


Why I named it the Mae Dress:
   Ok, so most of ya'll know I pretty much stick to one color in my clothing choices. Let's face it- I have been this way since about 15 and  I don't see me changing anytime soon. Black  is my color.  So please stop suggesting butter yellow or light blue for my clothing. Ain't. Gonna. Happen.  :) 
   I realized one day  I gotta start naming these things because if I say I wore the black dress,  which one? They are all black!  Kristi  ( who made this exact dress at the same time as I did in lesson but in a lovely plaid ) sent me a short list of some names and I really liked them. She felt a nice one syllable name was elegant and here is what she said 
"Here's why I see these 1 syllable girl names. It's strikes me as a 1920's feel. Add a low waisted sash and voile. Maybe I'm looking at it all wrong but it's 1920 and 1950's all in one to me and that's the name vibe I get." 
    Some of her options were Molly (can't use it,  have a niece named Molly), Anna ( I knew an evil Anna, can't use it), June( name option for a girl if I ever had another one so  that didn't work for me). So I thought about it- I made it in May but that is a dorky name for a dress. So Mae it is!  Mae is elegant and simple  just like my dress!  (There is that whole Mae West association but I don't mind that :) )
Now I can write to Kristi and tell her I wore the Mae dress and she will know which dress  I am talking about! 
    I know a lot of bloggers name each and every  of their dresses and I have to say, sometimes I think it is kinda silly. But it does cut down on confusion! 


Things I will change on the next version:
Oh yea. I will make another.   Once you have made the alterations to a pattern, the time consuming part is done! Use that work again! I want a sleeveless version. I will place the bust darts a touch lower.  Somehow they moved up on this one and I couldn't fix it because I followed the instructions and trimmed the dart.  (Do not trim a french dart until you are positive they are  in the correct place!!! ) The next dress will be 2-3 inches longer. Maybe change it to a V neck....

Pale, pasty and ready for summer in my hand-made 1965  black dress!!


Friday, December 30, 2011

The Christmas Dress


A few months ago  I saw this dress  pattern on etsy  and  I  had to have it.  Luckily, I have a size 8 child to fit it!  I probably would have bought it even if I didn't have a size 8 child because it is just so sweet!  I love 60's patterns.  I love the black dress & white shirt version. How classic!  I wanted to make her one exactly like it. 


I searched and searched around town for a lightweight white cotton for the shirt. I knew what I wanted but could not find it anywhere.  I finally found it at Joann's.  It is so lightweight it is almost see through. Eden had a HUGE problem with the idea that it was see through but once I got it through to her that the velvet would cover everything up, she relaxed :). 
The velvet I found at Joann's too, after I had ordered some velvet from Fabric.com.  The velvet that came from Fabric.com was not what I had in mind. It was very thin. It was described as thick but what showed up wasn't.  I  stopped into in Joann's for some  cording for Stephanie's kitchen valances that I thought I had bought already and couldn't find and HOORAY! they had  a brand new bolt of nice thick black velvet . 


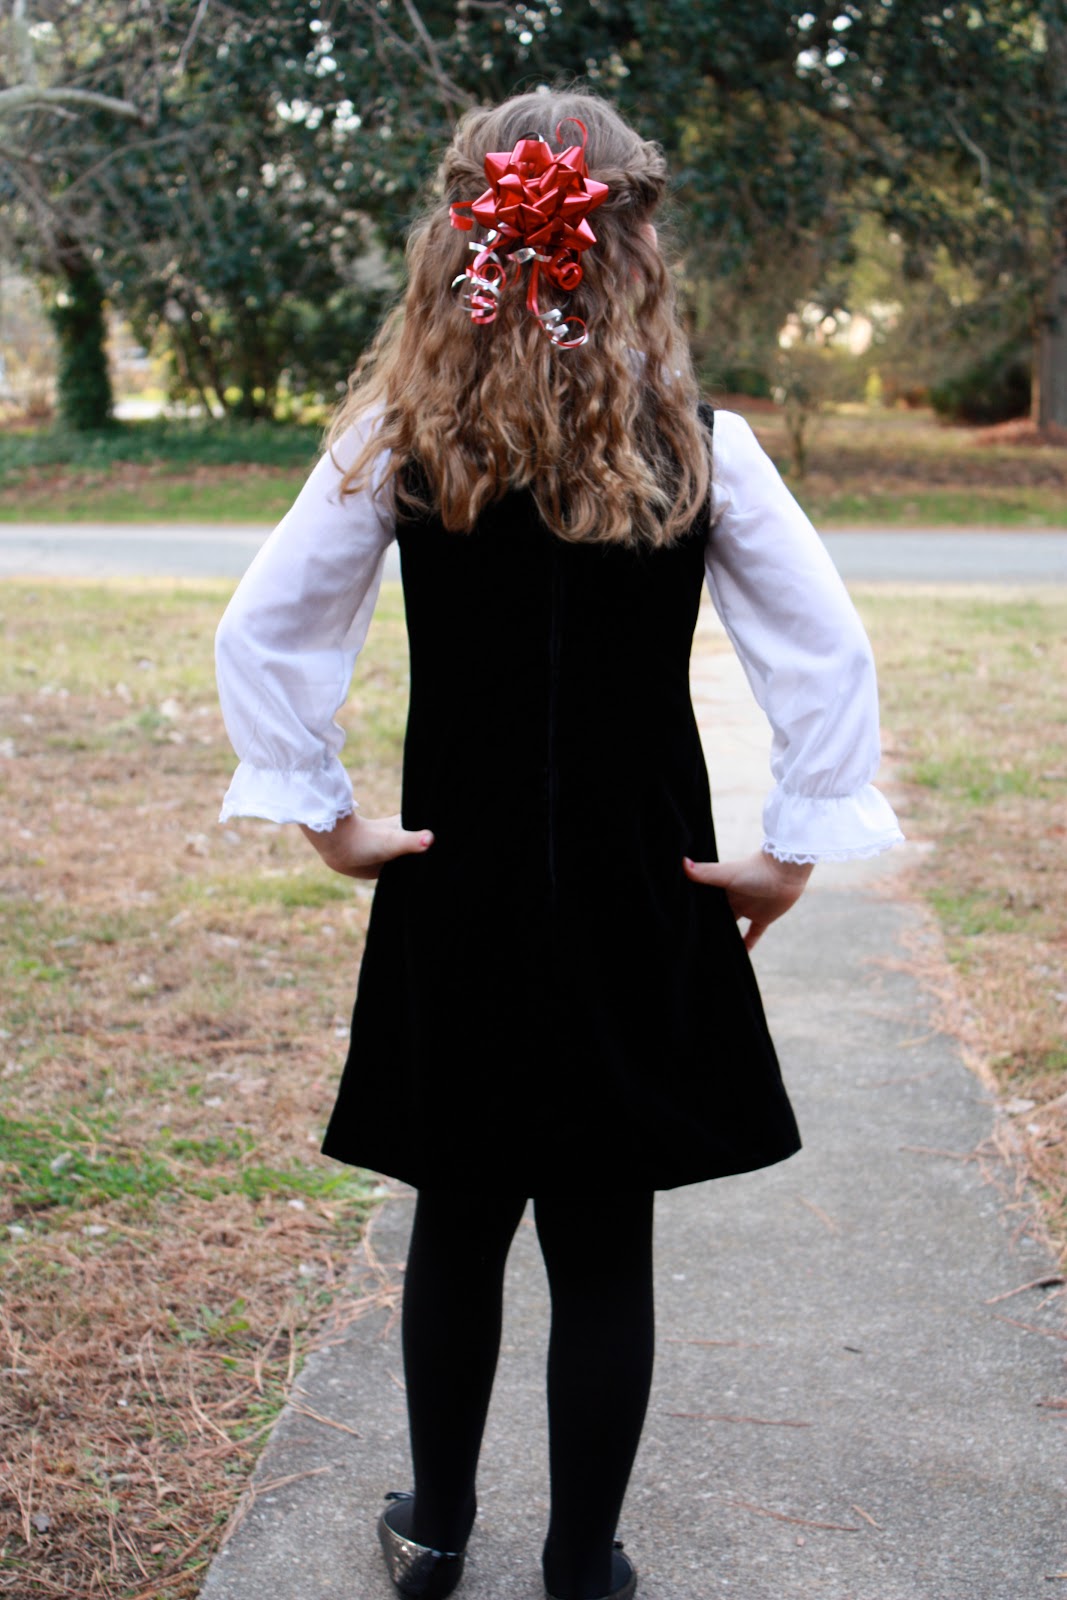
Here she is before school on the day of her class christmas party.  

The dress is lined in cheery red lining. The pattern did not call for the dress to be lined but I really  feel that lining clothing makes them sooo much more comfy to wear. 


I used a book on linings for assistance on creating a lining - The Easy Guide to Sewing Linings  by Connie Long.    I used info in the chapter on dress linings, sewing the un-interfaced lining directly onto the lining, then attaching that to the dress.                            Here is  a photo of the book. ( I have been sitting here forever trying to turn the photo into a link with no luck- :(  I'm being outsmarted by blogger.  ) 


 This pattern  itself could not be more beautifully simple.  There are four pieces - front, back, neck and arm facings, that's it!  And small too, as it is for a 9 year old.  However, sewing the velvet could have been more fun.  It slid around like crazy! I had to pin and pin and pin.   Also, I  could not press the seams down as the velvet would crush and look shiny on spots.  I ended up top stitching around the neck and arms to get them to stay down as without pressing them, they just wouldn't lay right. 


The hem is done with lace hem tape attached  by zig zag and then hand sewn up. 


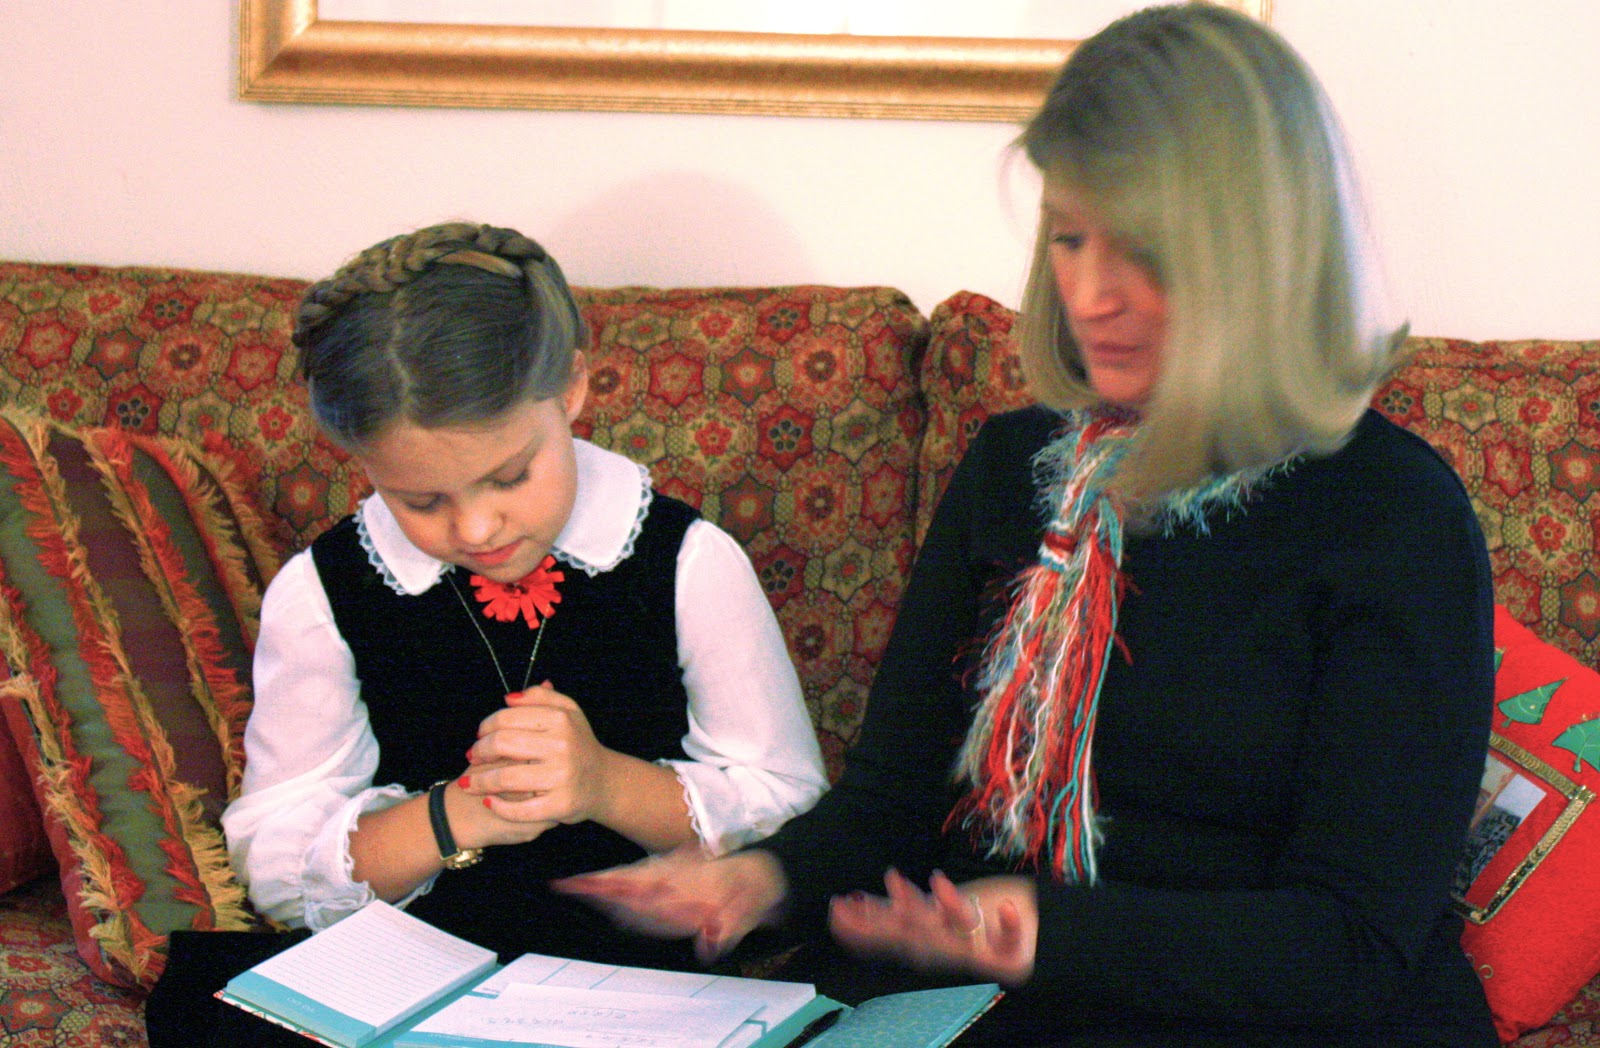
Here is E in the dress sitting on Santa's lap with her cousin Molly. 


The shirt was pretty easy to make too. I think it took a total of three hours to complete.  I used french seams at the shoulders and all other seams are clipped very close and zig zagged. 
The neckline has  bias tape over the raw edges of the seams instead of a facing. This worked very well for such a sheer material. 
The collar and cuffs is edged  in a tiny  lace.  I had a terrible terrible moment with this lace!!  I was giving the shirt a last press with a super hot iron and the iron slid off the press cloth and went over the lace- which I did not realize is polyester and IT MELTED!! Into a glob of ick on the edge of the collar!
 (Luckily, I was raised by a sailor and so I have the proper vocabulary for these moments. I said every word I knew and then I made up some!)
After I calmed down, I looked at the collar and realized there was no way I could take apart the collar section  of the shirt to remove that section of lace.  I had inserted the lace back at step one when I sewed the collar together.  I ended up clipping the melted plastic off and hand sewing in a small section of lace to the edge of underneath on that section of collar. - when she is wearing it, you cannot tell at all where I fixed it. 


 This picture Eden is wearing the 'muslin'  aka the practice version of the shirt. Sometimes I don't make a muslin out of muslin fabric- if I am going to be spending a lot of time on it, I might as well make it out of a fabric that she can wear.  This farbic was $1 a yard so if I blew it out of the water, there was no loss.  When  I made the muslin,  we found the shirt was very short, so I added a ruffle onto the bottom to lengthen it. When I made the white cotton version, I just added about 4 inches onto the bottom of the pattern  when cutting out.

I made a muslin for the dress as well out of actual muslin and found we only needed to take in an inch on the front and back.
 Eden is sitting on her Grampa's lap,
who is also wearing his Father Christmas coat that I made.
 Pretty cool, eh?


E learning the trick to multiplying nines from Aunt Stef. 

The pattern was pristine and  untouched when I received it in the mail. I felt a little guilty cutting into a perfect untouched 1960's pattern  for notches and  using the dressmakers tracing wheel on the darts. But I really didn't want to take the time to trace it.  The pattern is still totally usable and anyhoo-  the pattern is mine now forever, mwahaha.:) :)  I will just pass it down to E to make a dress for her baby  when she is  older ! :) :)


Tuesday, September 13, 2011

Getting ready for Halloween

Eden wants to be a vampire for Halloween this year. She says she does "not want to be a modern vampire, I want to be a classic vampire". Ok. A classic vampire it is. She would like a cape, black on the outside and red on the inside. She wants a short, fluffy dress. She liked last year's dress but the long dress part got in the way while trick or treating. She wants lots of ruffles and pace because classic vampires have "that old timey look" .


 Sooooooo here is our plan:

 Cape:

 I searched in the pattern box and found this pattern. We are going to make a short version of Cape B, black satin on the outside, red satin on the inside, as requested.


Dress:

I used this pattern as my base. I love this pattern! It is so pretty- I want  version 2 on the left for me! I want it in black and white check, with ruffles - just like the drawing! 

I tissue fit it on Eden and it seemed to fit well.  It was a tad bit big but not too bad. (I grabbed this pattern image off of a google search- scanning in my pattern would require effort that I don't have)  The size I used was a 10T chest  30.  Eden is a 26 so I figured I could take it in in the back and on the sides if it was way too big.

I made my muslin from a pink fabric that Eden picked out a couple of months back. I get tired of sewing on real muslin sometimes...it's so...blah.  Plus, if the test works, Eden can actually wear it. Making muslins are essential but sometimes I get frustrated at spending so much time on a non-wearable item. 

Here is the wearable test muslin!


It looks nothing like the pattern does it?  :)  I changed it all around. I made the pattern just like it is designed at first, though I ignored  the front darts (because Eden is...let's just say it- darts are for curves and my little darlin' doesn't have any yet ) and  it was soooooooooo big.  I removed the neck facing and then added tucks down the front center to take in the fabric. That took the front in 4 inches. The dress was very low cut so I added a neckline  about 2 inches wide. That brought the neck up to a much more comfortable level. Eden wants puffy sleeves so I just made the sleeves wider when I cut them out and gathered the new extra material at the top of the sleeve. I added elastic inside a casing at the bottom edge of the sleeve. That helps increase the puffiness.


 The back is pretty much exactly like the pattern. I took in about 4 inches on the back seam too.   I used an invisible zipper. Regular old double fold hem at the bottom.


I think she likes her new dress. 


I wish I had some of the socks she had as a baby- the white ones with super ruffles on the cuff. That would be adorable . She needs some saddle shoes too!

On the one for halloween , we will just be using the top of the dress. Eden likes the dress  but for her costume, she wants a wider twirly skirt  with a ruffled crinoline underneath. I did try to cut this dress with more skirt but it seemed to just fold up at the sides of the dress- it wasn't twirly. So I moved the side seams back in to about their original position. There will be no yoke-collar-neckline-raising thing on the halloween version.  I will cut the neckline much higher and just use creating a facing. I will also take out 4 inches form the front of the pattern, and 4 inches from the back. Though we both like the tucks, she doesn't think her costume needs them. 
She would like the dress to be red. I am pushing for a red and white crinoline  and white tights and black shiny shoes. I think that would be so cute!  Vampire teeth and  white make-up  and we are done! :)

The skirt will be a circle skirt using the circle skirt pattern from this book:


I love this book! I have made tons of skirts from this book and they turn out perfect every time. 

Off to sew!