Sunday, November 7, 2010

Halloweeen!

Ahhh. Long time no blog, I know. I would love to sit down regularly and update this thing. I am envious of the time and discipline of bloggers who update every day. I follow a couple of blogs that post daily and I love to read them. My goal is once a month. So far I am not hitting that goal :) but I am getting there!
I have SO BUSY! I have lots of new students and they are fantastic! Also, I have suddenly been hit with many new clients who have naked windows for me to cover. And then there was halloween.
I love halloween!!!!! I love pumpkins and halloween decorating. I love everything about halloween- especially getting to wear a costume. And since I now have my own darling mini-me who shares my love of dressing up- I have two costumes to make each year.
This year, Eden decided she wanted to be a princess. Ok. We can do that. But I would not allow her to cheat and go the disney route. We had to make it unique. Also, Eden wanted us to match. I found a costume pattern that came in a child size as well as an adult size. We decided to do as princess and queen going to a masquerade ball. My plan was for us to both have matching dresses, her in pink & white and mine in black & red and masquerade masks.


We decided to do Eden's in Pink & White. Here she is!

To save a bit of money I used Wright lace hem tape for the edges of the sleeves- it was three yards for about $2 . I gathered it using my handy dandy ruffler foot. I also used the Wide lace hem tape for the trim all along the edge, where the pink meets the white. It turned out to be MUCH less expensive that buying pre-gathered lace trim.


Doesn't she look like a pretty frosted cupcake?

Sleeve detail:


I ordered the mask on Etsy from Lyssane. You can visit her beautiful shop here:

The mask was perfect!! Absolutely exquisite! I loved the attention to detail- there were little sparkles inside the flowers and all of the ribbon pieces were neatly tucked inside. The mask was even lined on the inside with super soft felt so it was super comfy for Eden to wear. The mask made the outfit!! If you need a mask- don't go anywhere else! It was perfect!


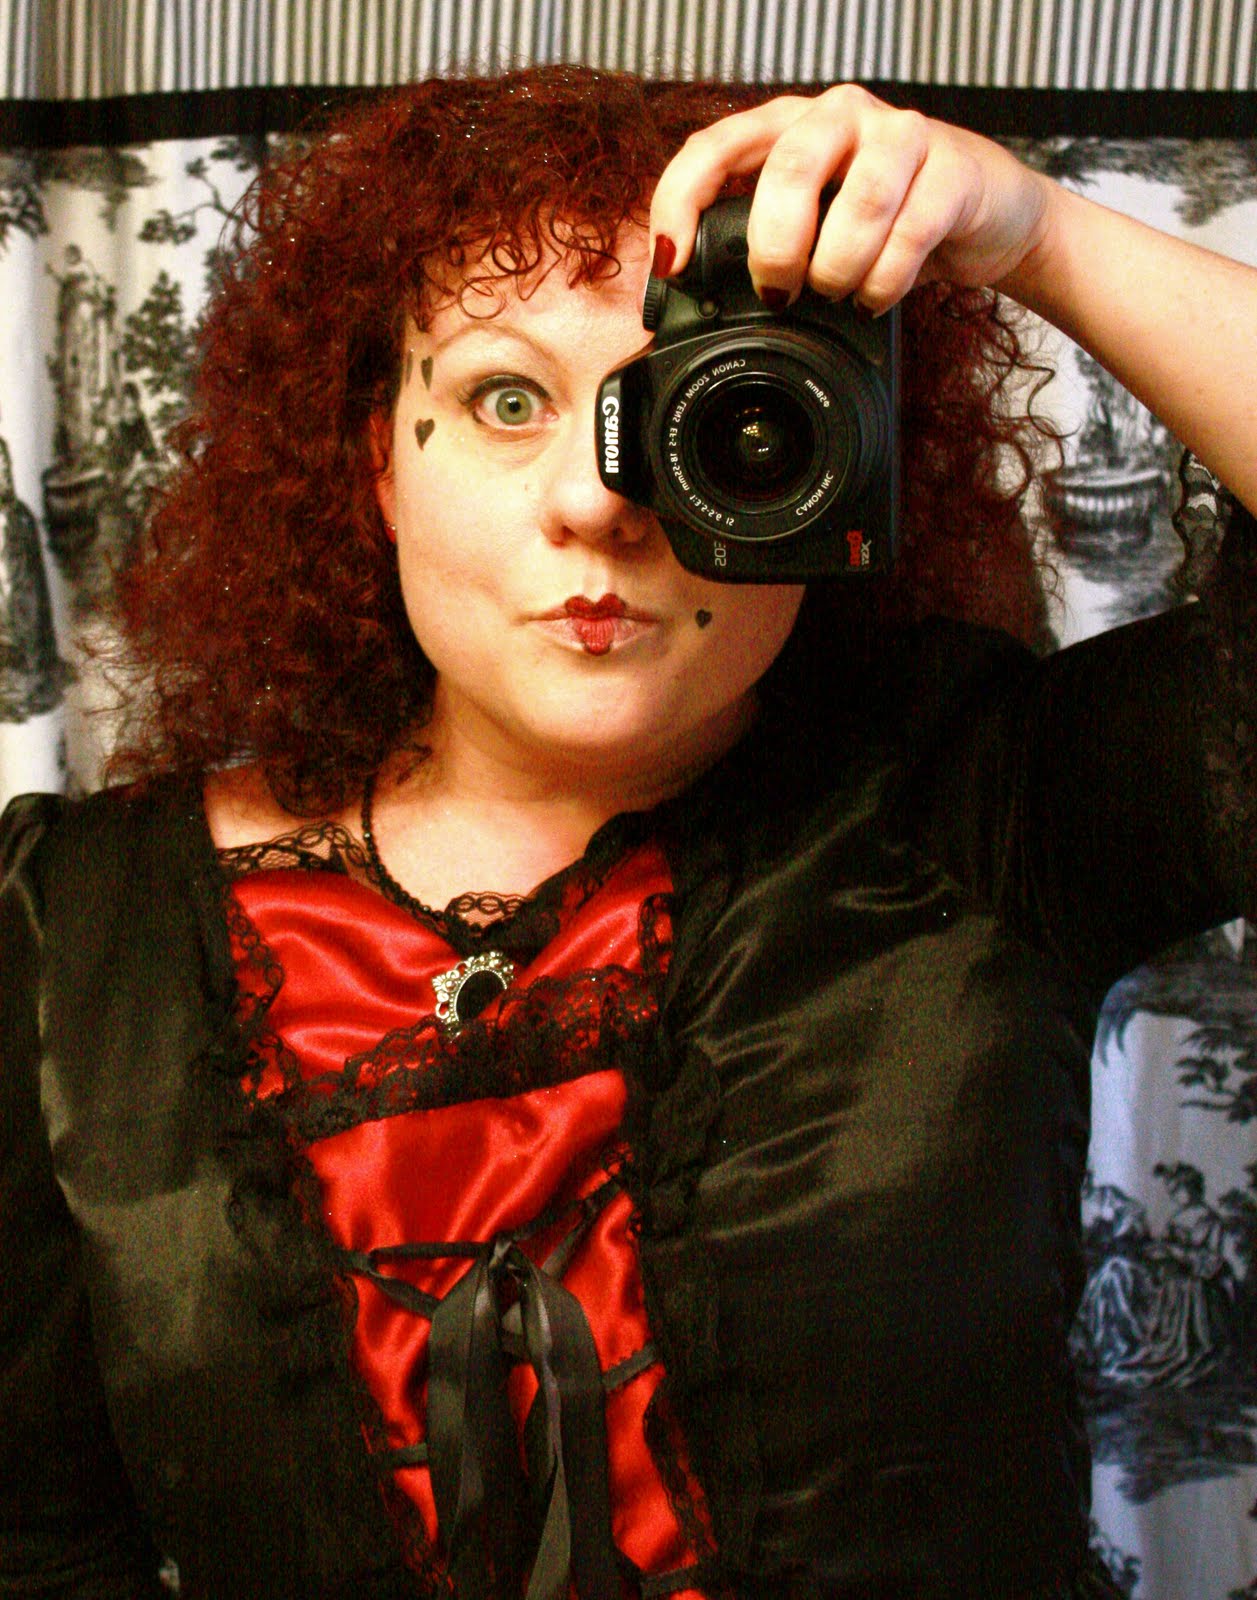
My dress was completed at the very last minute. I had planned on more time but woops! Ran out! I used a different method (pivoting the pieces ) to alter the bodice and I wish I had stuck with my normal method ( painstakingly cutting them apart and piecing ). After making up two muslin test versions, I still wish I had had time to alter it once more. I changed the front to a lace up detail, instead of the bows on the pattern. I also added in a piece at the top of the bodice so that it was not so low. ( I was asked to read to Eden's class for Halloween and I really felt that the dress was just a bit too revealing for 2nd graders.) Also, to read for her class I needed to be a story book character. So at the very last second, I changed my costume into the Queen of Hearts from Alice in Wonderland. I appliques hearts onto the front of the dress. I ended up not needing a mask. I drew hearts on my face and my lipstick was heart shaped.


(You can see my husband and Eden in the reflection in the glass door :) )

Here I am after I read to Eden's class.


My Mini-Me & Me
I used a satin edge stitch for my sleeves as I was not going for the 'frosted cupcake' look of Eden's dress.



Happy Halloween!


Tuesday, August 24, 2010

Brag Photos

I love my job. Have I told anyone that recently? I am sure I have but I need to say it again- I love my job. One of the reasons I love my job is that I have the sweetest , brightest most creative students.

One of my students is Rachael. She is 10. Rachael is going to grow up to be an awesome fashion designer! Here is her first skirt she made along with the tote we made to match.


And here is the tote


I am so proud of her!!!


Another of my students is Daisy. She is 17 and studying fashion marketing and design.
This skirt has a zipper in the back. We also made a zipper clutch to match.

So Cute!!!!

Here is the skirt we just finished. We learned gathering and attaching a ruffle on this one:


Daisy is now moving on to clothing from patterns. I will post pictures of her next project soon! :)

Tuesday, August 10, 2010

Flower girl dresses

I finished the flower girl dresses!! Hooray! Yippee! Hale-freakin-lugia!! I worked on these for a month! Here they are!

They are fully lined with huge layers of crinoline inside. They have invisible zippers and tiny hems. The bows are pinned on so that the girls could remove them later after the ceremony .


While making these I almost got dragged into a bridezilla moment with the bride and her soon to be sister in law. I did my best to stay out of that but I have learned my lesson once again: weddings create insane, white satin spewing, hemline dictating, obsessed over the tiniest of detail that no one ever, ever, ever is going to see, monsters....out of what are normally nice gals.
I therefore, from here on out, am going to try to stick to my rule of not sewing for anything wedding related. I broke my rule for these folks as I used to live next door. But uh-uh. Weddings make people crazy and I have enough crazy in my life, thank you very much, without going looking for more.


Also , for the wedding I made organza swags to go around a railing that went around the center of the reception. I didn't take a picture of those. Sometimes you get so sick of working on something that you don't ever want to see it again. That was the case with these swags.
The bride's mom was very specific while at the same time being very vague about what she wanted- so I had to interpret her gestures. I created 8 "tailored, but not pleated, identical , but 'flowy looking', gathered at the sides, even, but on purpose, like you meant to do it, but it just happened naturally....swags". Yea. With ribbons at the sides and in the center to hang it onto the railing. I was happy to see them hanging at the reception and looking tailored... but not.
Again, here is my solemn vow- no more sewing for weddings!!:) :)

Thursday, July 29, 2010

New studio!

This spring my family moved to a new home. We love it! We have been busy unpacking boxes and painting and learning about our new abode. I especially love it as I now have a studio to work in! No more living room sewing lessons! Hooray!
The sewing room is on the far end of the house and has a door leading directly to it from the side. I chose a pale peach/pink for the walls and a fiery rust red for the accents. It looks awesome! Very girly but not too froufrou .
The most fantastic thing about having the space is that I have been able to take on more students. This is my only job now and I love it! I am able to be home for my family and have a job that is really fun. It rocks! This is what I have been working towards for the past two years. It has finally paid off and is a thriving busy business.! Yippee!

This weeks I have had three lessons. It is a slow week and I am happy for the break! ☺ I have 7 scheduled for next week . I have some new students and they are a fun bunch! They are all so interested and eager to learn- I just love it!

My plan is to write each week about my projects and what everyone is learning in their lessons.

This week Nina finished her purse! She did a great job! She was so careful with her stitching .
Here she is showing it off!


Nina is 11 and wants to a fashion designer one day.
Here is a photo of her winding her bobbin.


Amy is new with me and made her first project with this week: She made a tablerunner and it turned out gorgeous! She chose beautfiul fabrics and did a lovely job of topstitching aroud the edges. She is going to send me a picture:)


Today Candace learned all about the wonderful world of hems. She is heading back to college soon and we are trying to pack in as much as we can before she leaves. Next week we will make her first skirt.


I am going to take pictures of the new studio tonight and will put them up soon.

See ya!

Thursday, November 5, 2009

Embroidered Brooches

I was inspired this week by my first custom order on etsy. Marie requested my embroidered roses on a brooch. I did one for her and loveed how it turned out. She wanted the pale pink roses on blue. My style is a bit different so I experimented with black & cream and red roses on cream. I have been crocheting lately as well and so I added a sweet little crochet lace trim to both brooches. Here they are!


The black Roses Brooch was hard to photograph. I tried everything all day long: every window, lamps, by the front door in the am sun, at the dining table in the afternoon sun... This was the best I could get!


Sunday, October 25, 2009

Embroidered Roses Brooch

I had my first custom order on etsy this week. It was very exciting!marie requested a brooch embroidered like my pillowcases. I was happy to tackle a new project.
She asked for the background in royal blue. I went to three, oh yes, three fabric stores in the area for the prefect blue fabric. i wanted it to have more of a texture, more visable weave, but oh no, I couldn't find it. I settled on my second choice as it was the perfect color.
I transferred the image to the fabric.

Then I embroidered it. the next step was to put it all together. The brooch has many layers inside: batting, interfacing and cotton interlining.


Here is a picture of it being sewn:


I then embroidered a blanket stitch around the edge.


Here is the completed brooch! :)


Tuesday, October 20, 2009

Delaney's Room

Baby Delaney's nursery room is finished! Delaney is the first grand baby born to my husbands family and everyone pitched in to make sure her world is perfect! Some shopped, some painted, I sewed and we all had fun! I just got the pictures of the completed room so here it is!

Karen chose a jungle theme for Delaney's room but didn't want it to be juvenile. It is hard to find commercial bedding for babies that isn't pastel and sticky sweet. Karen and David had a dresser set that they were going to put into the room and so we used that as our color inspiration.

I found a fabric that matched it as close as possible! it is called Oasis and the colorway is Sugar. It had nice bright colors, elephants, and two coordinate fabrics in a floral and a stripe to match! Perfect!
Karen requested a pleated crib skirt . The pleats have a yellow fabric in them but it is hard to spot in the pictures. The crib skirt is almost floor length @ 14 inches. I make all of my crib skirts with slits in the corners for easy installation.

The valance is in the same fabric, with the fun stripe on the pleated sleeves. I love this pattern. I have made it for a few clients as it turns out perfect in any fabric. You can dress it up with bead trim and a swag instead of the flat panel or make it playful like I did here with red puffball fringe. It also does not require large amounts of yardage. This window only needed two yards of fabric!


Karen and her mom found a rug with zebra print on the edges that adds more fun to the room. You can just see it in the bottom corner.

With the extra fabric from the cribskirt and the valance I made a diaper stacker and little flowers that velcro onto the crib. These will be moved out of her reach to other places in the room when she gets a bit older. I also made a blanket for Delaney with her name on it. I had never done applique like this before. It is a time consuming project! It was worth it though as I love how it turned out. Look in the far left of the picture- that is Ryder, Delaney's furry big sister! :) You can just see her nose :)


A friend of Karen's painted Delaney's name onto squares for her room . Look at how amazing they are! She copied parts of the fabric pattern in the squares so it matches perfect!


.

And here is Delaney! I know I am biased as she is my niece but isn't she just the most beautiful baby? I just love her little chin! Too Cute!